

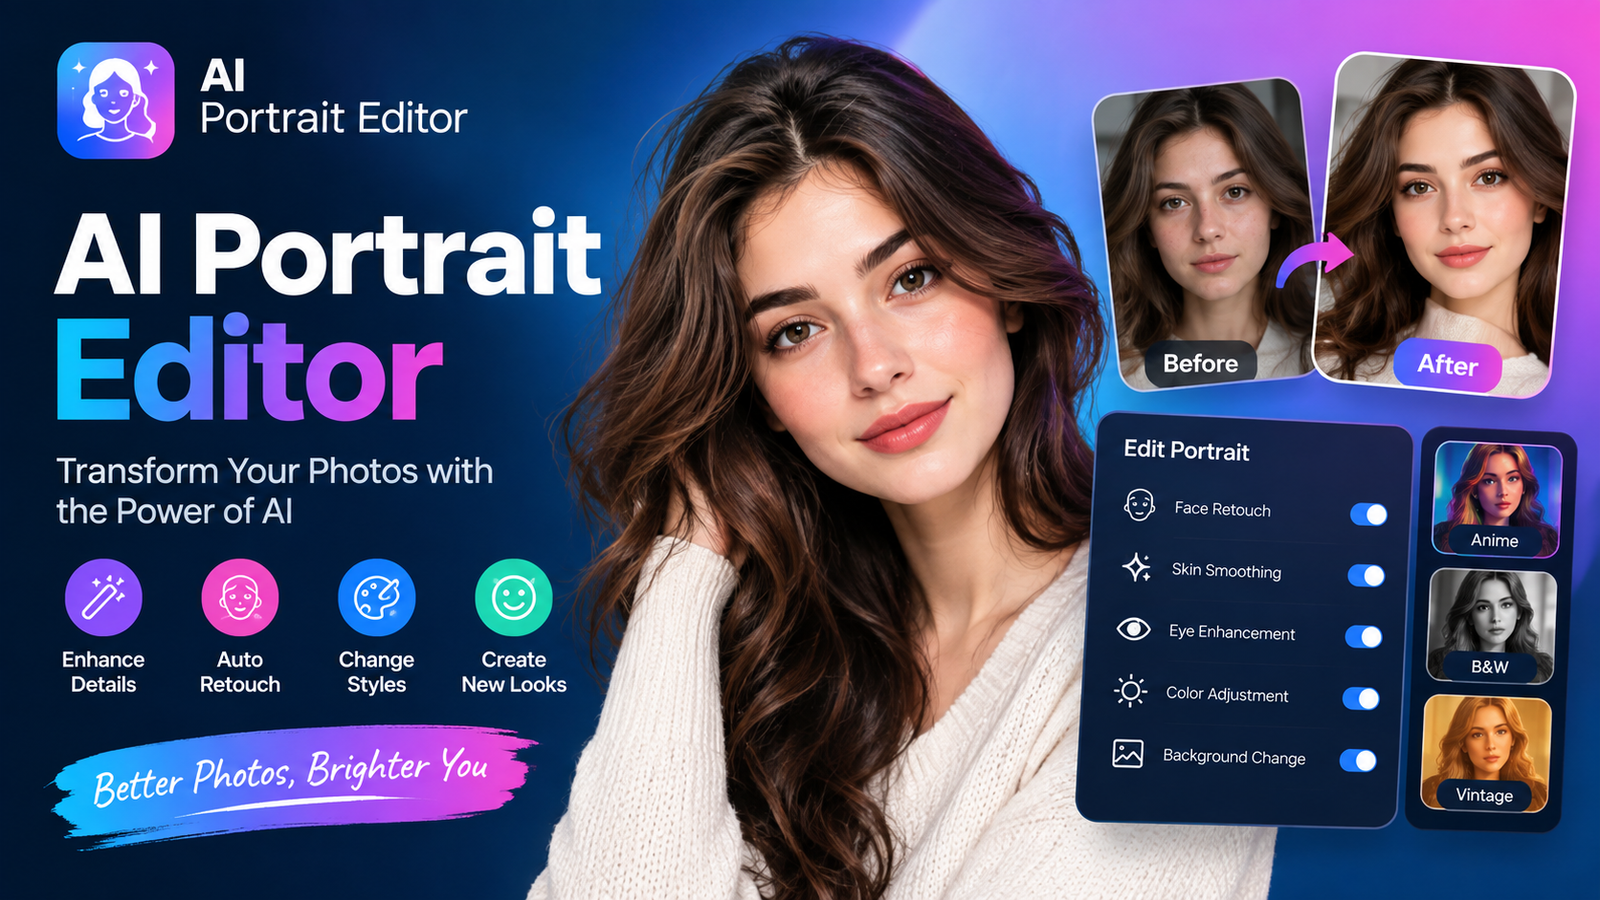
An AI portrait editor uses artificial intelligence to automatically improve and retouch portraits. Instead of manually adjusting every detail, you can use AI to enhance skin, correct lighting, clean up backgrounds, sharpen facial details, and make other targeted adjustments in a few clicks.
Modern AI photo editing tools can be useful for everything from casual selfies to LinkedIn headshots and professional photography. However, the best results do not come from applying every available effect. Natural-looking skin, recognizable facial features, realistic lighting, and clean details still matter.
Whether you want a quick edit or a more professional result, understanding how AI portrait editing works can help you choose the right tool and avoid common mistakes.
What Is an AI Portrait Editor?
An AI portrait editor is a photo-editing tool that uses machine learning and computer vision to recognize people, faces, backgrounds, and other elements in an image.
Once the software identifies these areas, it can automatically apply targeted adjustments. For example, it may recognize skin separately from hair and clothing, allowing you to smooth minor imperfections without applying the same effect to the entire image.
Unlike a traditional filter, AI portrait editing can involve multiple adjustments based on the contents of the photo.
Common capabilities include:
Skin retouching
Blemish removal
Eye enhancement
Teeth whitening
Lighting correction
Color adjustment
Background removal or replacement
Face and portrait enhancement
Image sharpening and upscaling
Object removal
The exact features vary between tools, so it is important to consider what you actually need before choosing an editor.
What Can an AI Portrait Editor Do?
Skin Retouching
AI can identify areas of skin and reduce temporary imperfections such as blemishes, redness, or excessive shine.
Good portrait retouching should not remove every natural detail. Pores, freckles, fine lines, and normal skin texture can help a person continue to look authentic.
For professional headshots, subtle retouching is generally more useful than aggressive smoothing.
Eye Enhancement
AI portrait tools can make eyes appear clearer by adjusting brightness, sharpness, or contrast.
Some editors can also correct red-eye or enhance the visible details around the eyes. The key is moderation. Over-brightened or unnaturally sharp eyes can make an otherwise realistic portrait look artificial.
Teeth Whitening
Some AI editors can automatically detect teeth and adjust their brightness.
A small correction can improve a portrait, while excessive whitening can produce an unrealistic result. Always compare the edited version with the original before exporting.
Hair and Flyaway Cleanup
Portrait editors can identify hair and remove minor distractions, including stray hairs or messy areas around the subject.
This is particularly useful for professional headshots where clean edges and a polished appearance matter.
Lighting and Color Correction
Poor lighting can affect an otherwise good portrait. AI can help adjust:
Exposure
Shadows
Highlights
Contrast
White balance
Color temperature
Skin-tone consistency
These corrections can make a portrait appear clearer without significantly changing the person's appearance.
Background Editing
Many AI photo editors can detect the subject and separate it from the background.
Depending on the tool, you may be able to:
Remove the background
Replace the background
Blur distracting elements
Remove unwanted objects
Create a cleaner studio-style appearance
Always inspect the area around hair, glasses, shoulders, and other fine edges after making a background change.
What Features Should You Look for in an AI Portrait Editor?
Not every AI photo editor is designed for the same purpose. Before choosing one, consider these features.
Natural Skin Retouching
Look for controls that let you adjust the intensity of skin enhancement. A good editor should give you enough control to avoid a plastic or overly smooth appearance.
Identity Preservation
The person should still look like themselves after editing.
This is especially important for professional headshots, identification-related images, personal branding, and family photographs.
Selective Editing
Tools that let you control individual areas are generally more flexible than editors that apply one effect to the entire portrait.
Background Accuracy
Background removal and replacement can produce artifacts around hair, clothing, glasses, and shoulders. Look for tools that provide clean subject separation.
Batch Editing
Photographers and businesses working with many images may benefit from batch processing. Instead of editing every portrait separately, you can apply consistent adjustments across multiple images and review the results afterward.
Export Quality
Check the available resolution and export formats before choosing a tool. A portrait that looks good on a phone may not have enough quality for printing or professional use.
Also check whether the free version adds watermarks or limits export resolution.
AI Portrait Editor Comparison
Different editors serve different workflows, so compare features based on your specific requirements rather than choosing a tool simply because it has the largest feature list.
If you are looking for the best AI photo editor free of charge, check the limitations carefully. Free versions may restrict credits, resolution, export options, or advanced features.
How to Edit a Portrait With AI
You do not need to apply every available effect. A simple workflow can produce better results.
Step 1: Start With a Good Original
Use the highest-quality source image available.
A sharp, properly exposed portrait gives an AI editor more useful information to work with. AI can enhance an image, but it cannot reliably recover every detail that was never captured.
Step 2: Correct Basic Lighting
Before applying heavy retouching, adjust exposure, contrast, shadows, and white balance.
A portrait with balanced lighting usually requires less aggressive retouching.
Step 3: Retouch Temporary Imperfections
Remove obvious blemishes or temporary distractions while keeping normal skin texture intact.
Step 4: Enhance Eyes and Teeth Carefully
Make small adjustments and compare them with the original. If the first thing you notice is the person's eyes or teeth rather than the portrait itself, the effect may be too strong.
Step 5: Clean Up the Background
Remove distracting objects or replace the background if necessary.
Afterward, zoom in around hair and shoulders to look for unwanted edges or artifacts.
Step 6: Review the Result
Do not immediately download the first AI-generated result.
Compare:
Original → AI edit → Final adjusted version
This makes it easier to identify changes that improve the image and changes that simply make it look different.
Step 7: Export at the Required Quality
Choose an appropriate resolution and file format for your intended use.
A social media image may have different requirements from a printed headshot or professional portfolio image.
How to Make AI Portraits Look Natural
Natural results are one of the biggest challenges in AI portrait editing.
Preserve Skin Texture
Avoid removing every pore, line, or small variation. Real skin has texture.
Avoid Excessive Face Reshaping
Retouching and changing facial structure are not the same thing. If the purpose is to improve a portrait, unnecessary structural changes can make the final image less authentic.
Keep Eye and Teeth Adjustments Subtle
Small improvements generally blend better with the original image.
Check Hair and Background Edges
AI can sometimes create strange transitions around fine hair, glasses, shoulders, or complex backgrounds.
Review at 100% Zoom
An image can look perfect when viewed as a small thumbnail but reveal artifacts when enlarged. Check important facial areas and edges before exporting.
Common AI Portrait Editing Mistakes
Over-Smoothing Skin
Problem: The face looks waxy or artificial.
Solution: Reduce the smoothing intensity and retain natural texture.
Changing Facial Identity
Problem: The person no longer looks like themselves.
Solution: Use enhancement features carefully and avoid unnecessary face reshaping.
Over-Brightening Eyes
Problem: Eyes look unnaturally bright or sharp.
Solution: Apply smaller adjustments and compare against the original.
Excessive Teeth Whitening
Problem: Teeth become unnaturally white.
Solution: Use subtle whitening that matches the surrounding image.
Ignoring Background Artifacts
Problem: Hair, clothing, or glasses have strange edges after background editing.
Solution: Zoom in and inspect the subject boundary before downloading.
Editing a Low-Quality Image
Problem: AI enhancement cannot fully compensate for severe blur, poor focus, or missing detail.
Solution: Start with the highest-quality original available.
Trusting the First AI Result
AI automation saves time, but it does not remove the need for human review. Always inspect the final image.
AI Portrait Editor Use Cases
Professional Headshots
AI can help clean up skin, improve lighting, remove distractions, and create a more suitable background for LinkedIn or company profiles.
Social Media Portraits
Creators can use AI to make quick adjustments before publishing photos to social platforms.
Selfies
For casual photos, AI can automate basic skin, lighting, color, and background adjustments without requiring advanced editing skills.
Personal Branding
Business owners, freelancers, speakers, and creators can use consistent portrait editing to maintain a professional visual identity.
Photography Studios
Photographers handling large numbers of portraits may use AI for repetitive tasks such as culling, basic corrections, retouching, and batch adjustments.
Family and Event Photography
AI can speed up routine corrections across large collections while leaving more complex edits for manual work.
AI Portrait Editor vs Photoshop vs Manual Retouching
AI tools, Photoshop, and human retouching are designed around different workflows.
AI is particularly useful when you want automation and speed. Photoshop provides extensive manual control, while a skilled retoucher can make highly specific creative decisions.
The choice depends on the image, required quality, available time, and amount of control you need.
Free vs Paid AI Portrait Editors
A free AI app for photo editing can be enough for occasional selfies or simple social media edits.
However, free plans may have restrictions such as:
Limited daily credits
Watermarks
Lower export resolution
Fewer retouching controls
Limited batch processing
Account requirements
Paid plans may provide additional editing capabilities, higher export quality, or larger usage limits.
If you only edit a few portraits each month, start by checking what the free plan actually includes. If you regularly process professional images, compare the workflow and usage limits rather than focusing only on the subscription price.
AI Portrait Editing Privacy and Safety
Portraits contain personal visual information, so privacy should be part of your tool-selection process.
Before uploading an important photo, check the editor's privacy policy for information about:
How uploaded images are stored
How long images are retained
Whether users can delete uploaded files
Whether images may be used for model training
Whether an account is required
How commercial content is handled
For private, client, or sensitive images, do not assume that every online AI editor handles uploaded photographs in the same way.
Also keep the original file separately so you can return to the unedited version if needed.
Final Checklist Before Downloading an AI-Edited Portrait
Before exporting your image, ask:
Does the person still look like themselves?
Is natural skin texture still visible?
Do the eyes look realistic?
Are the teeth appropriately adjusted?
Are hair edges clean?
Does the background look natural?
Is the lighting consistent?
Did the AI introduce unwanted facial changes?
Is the export resolution suitable for its purpose?
Have you saved the original image?
If the answer to these questions is yes, your AI portrait editing workflow is much less likely to produce an obviously artificial result.
FAQs About AI Portrait Editors
What is an AI portrait editor?
An AI portrait editor is a photo-editing tool that uses artificial intelligence to recognize and adjust elements of a portrait, including skin, facial details, lighting, colors, and backgrounds.
Can AI portrait editors retouch skin naturally?
Yes. Many AI editors can reduce blemishes and improve skin appearance. For natural results, use moderate adjustments and preserve visible skin texture.
Can I use an AI portrait editor for a professional headshot?
Yes. AI portrait editing can help with lighting, minor retouching, background cleanup, and other adjustments commonly needed for professional headshots.
Are there free AI portrait editors?
Yes. Some AI photo editing platforms offer free tools or limited free credits. However, features such as high-resolution exports, advanced retouching, or batch editing may require payment.
Is an AI portrait editor better than Photoshop?
Neither is universally suitable for every situation. AI editors emphasize automation and speed, while Photoshop provides extensive manual control. The right choice depends on your editing requirements and experience.
Can AI portrait editors change backgrounds?
Many AI photo editors can remove, blur, or replace backgrounds. Results should be checked carefully around hair, glasses, clothing, and other fine edges.
Are AI portrait editors safe for private photos?
Safety depends on the individual service's privacy and data-retention practices. Before uploading private images, review the tool's current privacy policy and understand how your photos are handled.
Conclusion
An AI portrait editor can simplify many tasks that once required extensive manual editing. From skin retouching and lighting correction to background cleanup and professional headshots, AI can make portrait editing faster and more accessible.
The key is not to apply the strongest effect available. Start with a good original image, make targeted adjustments, preserve natural skin texture, and carefully review the final result.
Whether you need a free AI photo editor for occasional edits or a more advanced workflow for professional photography, compare tools according to the features and controls that actually matter for your images.
Leave a Reply